Showing posts with label Tutorials. Show all posts

Sunday, September 30, 2012

Fancy That cards - TUTORIAL

Fancy That cards by Leanne Allinson.....

Hello Everyone! I hope you are all having a wonderful creative day. Today I want to share a little more Fancy That Dies goodness with some very simple three step cards.


Of course it also helps that I've used up some more of my off cuts! *grin* I love putting these extra bits of paper to good use.
I call these cards "three step" because well..., there are three steps to creating them! LOL!
step 1. choose and fold your off cut piece of cardstock. (being a 8.5in x 11in scrapper... I have a fair amount of 3.5in x 12in scraps in my stash!)
step 2. add three sections/strips/blocks of co-ordinating scrap patterned paper.
step 3. embellish with your dies. I have used a selection from Fancy That Dies. Check out the amazing range here!
You can't create cards any easier than this! Trust me. I've tried! hee hee...


By the way, I love how these dies cut vellum. It comes out perfectly. And the little touch of vellum builds up the layers on my flower. Got to love that!

products used: Fancy That Dies - butterfly quartet, sweet blooms, scalloped rolled rose, mixed leaves; cs - stampin' up, kaisercraft; pp - American Crafts Dear Lizzy, Jillibean Soup; other - Girls Paperie cardstock sticker, Greatest View sequins, vellum; tools - corner rounder.


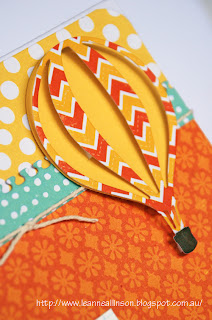
products used: Fancy That Dies - photo corners 2, high in the sky, zippity do da; cs - kaisercraft, stampin' up; pp - American Crafts (Dear Lizzy & Amy Tangerine), Crate Paper, Kaisercraft; other - Girls Paperie cardstock sticker, twine, maya road clear stamps, close to my heart ink.


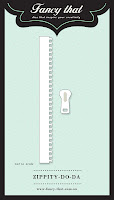
Notice on the middle strip of patterned paper (blue with white polkadot) I have used a die to create extra interest. It is zippity do da and I love using this die in particular, to add to my layers.
Thanks so much for visiting today. I hope you have fun creating a few cards out of your left over scraps of paper..x

Wednesday, July 4, 2012

Taking photos or your cards or projects

We asked MFT if we could have a tutorial from the designers on how to take photos of your cards and they delivered!!!!!

The MFT design team members have shared their tips and tricks.

There were quite a few to choose from.

Here are three :

MFT Design Team creative chat

Karen Giron - This tutorial has a video and explains how to photoshop your image after you have taken it.  {heart} this one!

Joanne B - shows you how to use a lightbox and her photoshop techniques

Sherrie Siemens - shows you how to get your lighting right before photoshopping your image. 

I couldn't post this entry without some samples of before and after.

BEFORE


AFTER......BIG DIFFERENCE

Designed by Ariana


Dies used:


We would love to hear if the tutorial works for you and see your handy work.

Please don't forget to leave a comment, we would love to here from our readers!

Thanks for stopping by!!

Friday, June 8, 2012

Rolled Rose tutorial - My Favorite Things


I have had some requests for this tutorial and here it is.  HOW TO rolled roses.

Basically this tutorial works for all rolled flowers made by MFT.


I thought you might like to see some projects using the rolled rose/flowers.


Thanks for stopping by and see you back real soon!


Wednesday, June 6, 2012

Cutting Fabric with My Favorite Things Die Namics

Ever wanted to add something different to your project.

What about fabric, Burlap, hessian or felt?

Here is a great tutorial from My Favorite Things.


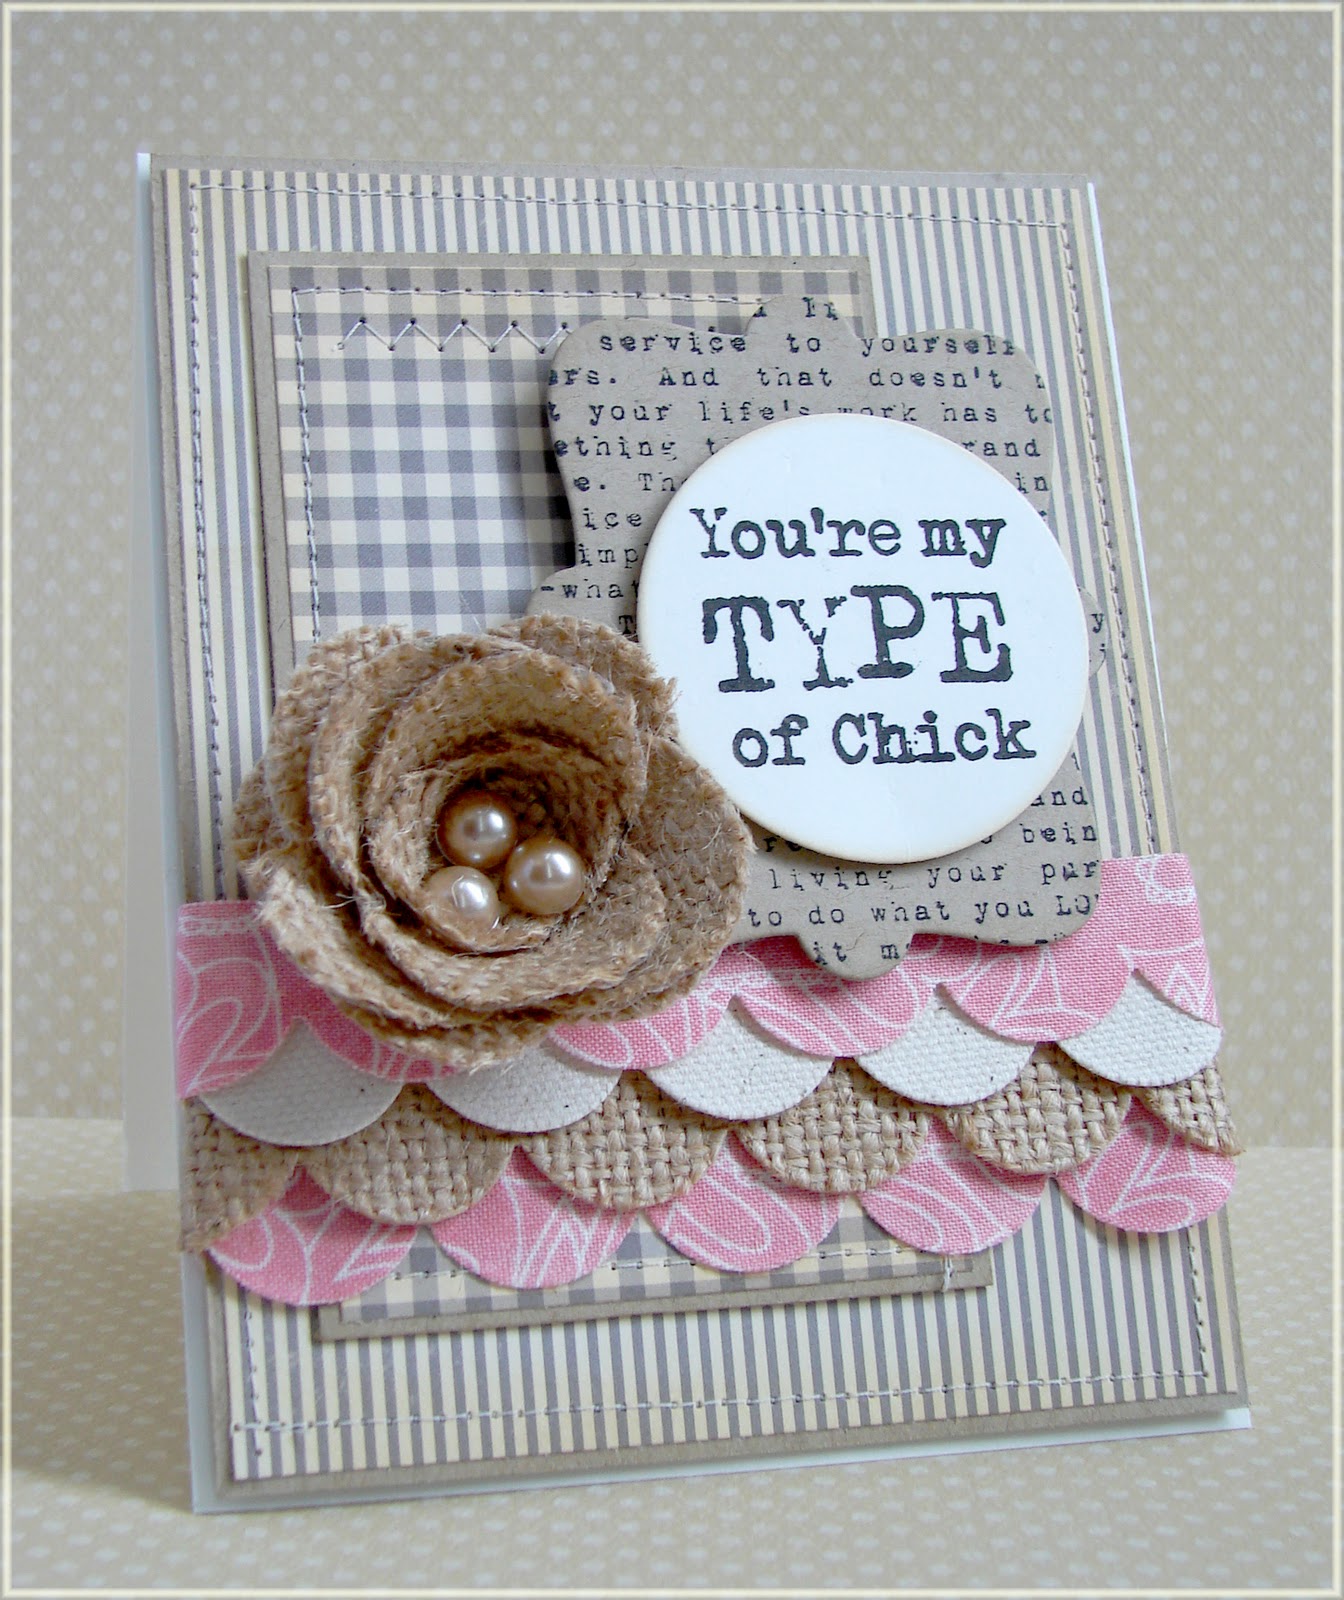
Here is the finished card.


My Favorite Things supplies used:

Large Rolled Rose
Own your story die and stamp set
Simply Scallops


Here is my attempt at using fabric and a sketch I created.

I'd love to know what you think....leave a comment.


Thursday, May 17, 2012

Ever wondered how to alter your dies?

Here is a tutorial on how to alter your MFT Die-Namics.  This tutorial works for other wafer thin dies such as Cheery Lynn, Fancy That and Memory Box.


Here is the finished card.


We would love to see how you extend or alter your dies.

Thanks for stopping by!

Stiching in your projects

Hi!

Ever wondered how to sew your cards?  It's so easy.


Check out this easy tutorial from Joanne one very talented and creative MFT designer.


Here are some cards using stitching.


If you have purchased and MFT, Fancy That or Lifestyle Crafts dies from our store and have used stitching in your project, we would love to see them!!!

Please don't forget to leave comments as we love to hear what you think or maybe tell us what you would like to see.

Thanks for stopping by!

Tuesday, May 15, 2012

How to build a scene with MFT

Welcome back!

I fell in LOVE when I saw this tutorial by Jodi, one of the extremely talented MFT designers.

I can see this technique used on cards and scrapbook pages everywhere!!!!


Here is the finished card.


My Favorite Things supplies used:

Designer Labels 1 STAX
Catch a Wave border
Cloud Trio
Photo Corners
Fishtail Flags Stax
Pretty Posies

I thought I would play along and see what I could come up with.  Hope you like it.


Supplies used :

My Favorite Things Designer Stax
Fancy That Butterfly Quartet
Fancy That Dragonfly
My Favorite Things Mini Royal Rose
My Favorite Things Fresh Cut Grass


Thanks for stopping by!

Saturday, April 14, 2012

Cutting intricate and detailed dies : TUTORIAL

I think we've all come accross a die that hasn't quite cut right and wondered if there is something wrong with the die. 

Shimming is the solution!

We get quite a lot of question about this so here are some you tube videos showing you how to cut those intricate and details dies.

You will never find cutting those intr1cate dies so easy!!!


We have Steel shims for Sizzix Bigshot machine available in store at The Papercraft Hub.

Thanks for stopping by.

E

Ever wondered how to layer on your cards : TUTORIAL

Below is a gorgeous tutorial from Sarah Gough on how she layers her MFT cards.

You will get tips and tricks to layering plus some gorgeous MFT cards to inspire you.


Have you tried layering your cards?

We would love to see your projects.

Don't forget to leave a comment and sign up to our blo for more tips, tricks, Sneak Previews and tutorials.

Thanks for stopping by.

E

Two toned Royal rose : TUTORIAL

This is such a gorgeous rose!

By cutting out to of them in one colour of cardstock makes the rose bigger than normal and by cutting out the rose in two different colours of cardstock or patterned papers give the rose a whole new look!

Try it!


We would love to see what you have created. 

Don't forget to leave a comment.  We like to know what you think!

Thanks for stopping by!

E

Friday, March 30, 2012

Fancy That Leafy Swirl Valita's fresh folds : TUTORIAL

I have to share this GORGEOUS You tube Video Tutorial from Valita's Fresh Folds blog.


I love how she made the flower and what she did with The Fancy That Leafy Swirl. WOW WOW WOW!!!


A HUGE THANK YOU to Valita for this Beautiful project!!!!


If you want to learn more about Valita's fresh folds head on over to her blog.


Thanks for stopping by!

E

Tuesday, March 27, 2012

HOW TO easily eject your die cut from your steel die - TUTORIAL

Some of you may be wondering, how do I easily and painlessly remove my die cut from my die easily. 

If your die has poke holes you can try these but sometimes, the poke holes are too small.

There are 2 solutions:

  • adhere ejection foam to your die which may need to be replaced over time.  If you don't know what this is, it a white thin foam with an adhesive backing and is found on some Lifestyle Crafts, Quickutz dies.  It helps your die cut eject from the steel die easily.

  • the alternative is to spray your die with furniture polish, wipe it completely clean then run it through your table top machine.

I tested this and sure enough the die cut popped right out.  What a great money saving tip!

You may need to repeat the process every now and then but this depends on how often you use the die.

I hope this helps and hope you liked my images.  The page looked to bare without them.

Have a Craftastic Day!!!
www.thepapercrafthub.com.au

E

Saturday, January 21, 2012

Rolled Scallop Flower tutorial

I though you might like to see a tutorial by Designer Texas Jody Lynn for the new My Favorite Things 'Rolled Scallop Flower'.

It's the latest flower cutie created by My Favorite Things.


So easy to cut, put together and add to your project.

Tuesday, August 9, 2011

MFT Monthly Designer Challenges - August : TUTORIALS

For this months challenge, MFT Designers had to explore their creative side using a specific theme, product or technique.

This month, it's cards featuring Fun Folds! 


For the tutorial on this card by Jackie, go to The Scalloped Edge.


This card was created by Jodi from Stamping a Latte.


The tutorial for this card by Sarah can be found at her blog THinkING Stamps.


For the tutorial on this card by Christina go to her blog Flowers and Ink.


You can find the tutorial for this card by Eva at her blog For the love of life.


For instructions on this last card go to Jody's blog Confessions of a Ribbon Addict.

I can't wait to see what they come up with next month!!!

Bye for now :)

Tuesday, June 28, 2011

Playing with Paint and Crackle medium

The MFT designers were challenged to incorporate paint in their MFT projects and this is what Judy Morrow came up with.


Instructions are below and if you are looking for more inspiration, go to Judy's blog http://confessionsofaribbonaddict.blogspot.com/2011/06/playing-with-paint-inspired-by.html
"First up, I stamped the bird's nest with Brilliance Graphite Black ink and clear embossed. Here is a little tip when you are embossing - heat the BOTTOM of your paper, NOT the top where the image is. This is especially helpful with fine lines or large areas and keeps your embossing powder smooth, and prevents it from melting in to the paper. That is what I did for this image.


Next, I used my paint dabber to "sponge" the edges of the card stock. I also used a flourish stamp from Own your Story to stamp some decorative detail in the corners of the panel. I used the paint for ink by dabbing it on the stamp and then stamping.

I used Smooch paint in a pearly white color to color in the eggs in the nest.


I used green Smooch paint to color the leaves.


I whipped out another type of paint, Crackle Paint, to use on the background layer. I spread it generously on the paper and then set it aside for quite a while to dry.


Here is what it looks like after it dries.


Here is the finished product one last time. Elegant with a touch of grunge! I finished it off with some gingham ribbon and a sentiment from the set stamped on one of the pieces from the First Place Award Ribbon Die-namics die.


While I had out all the materials, I decided to make one more paint card. After all, I needed something to do while my crackle paint was drying. LOL For this one, I decided to try a different type of technique and used a different Inspired By stamp set, Caged Bird. Again, I will show you the finished product first and then go in to the details below.

See the smooth finish of the embossed bird? That is achieved by heat embossing from the bottom of the paper instead of directly on the image.


I just love the Mini Film Strip Die-namics die. I backed it with some patterned paper to make it stand out against the back layer patterned paper.

I used a sponge to swipe paint from my paint dabber, which I poured directly on the kraft card stock.


I sped up the drying process by using my heat gun and then stamped the diamond pattern over the paint using chalk ink.


I stamped the bird cage with Brilliance Graphite Black and then clear embossed, being sure to heat from the bottom of the card stock, instead of the top.


I distressed the edges of the card stock with my Tonic paper distresser, and added some twine to hang the bird cage from. I kept it pretty simple to keep the focus on the paint.


All done and how beautiful is this card by Judy?